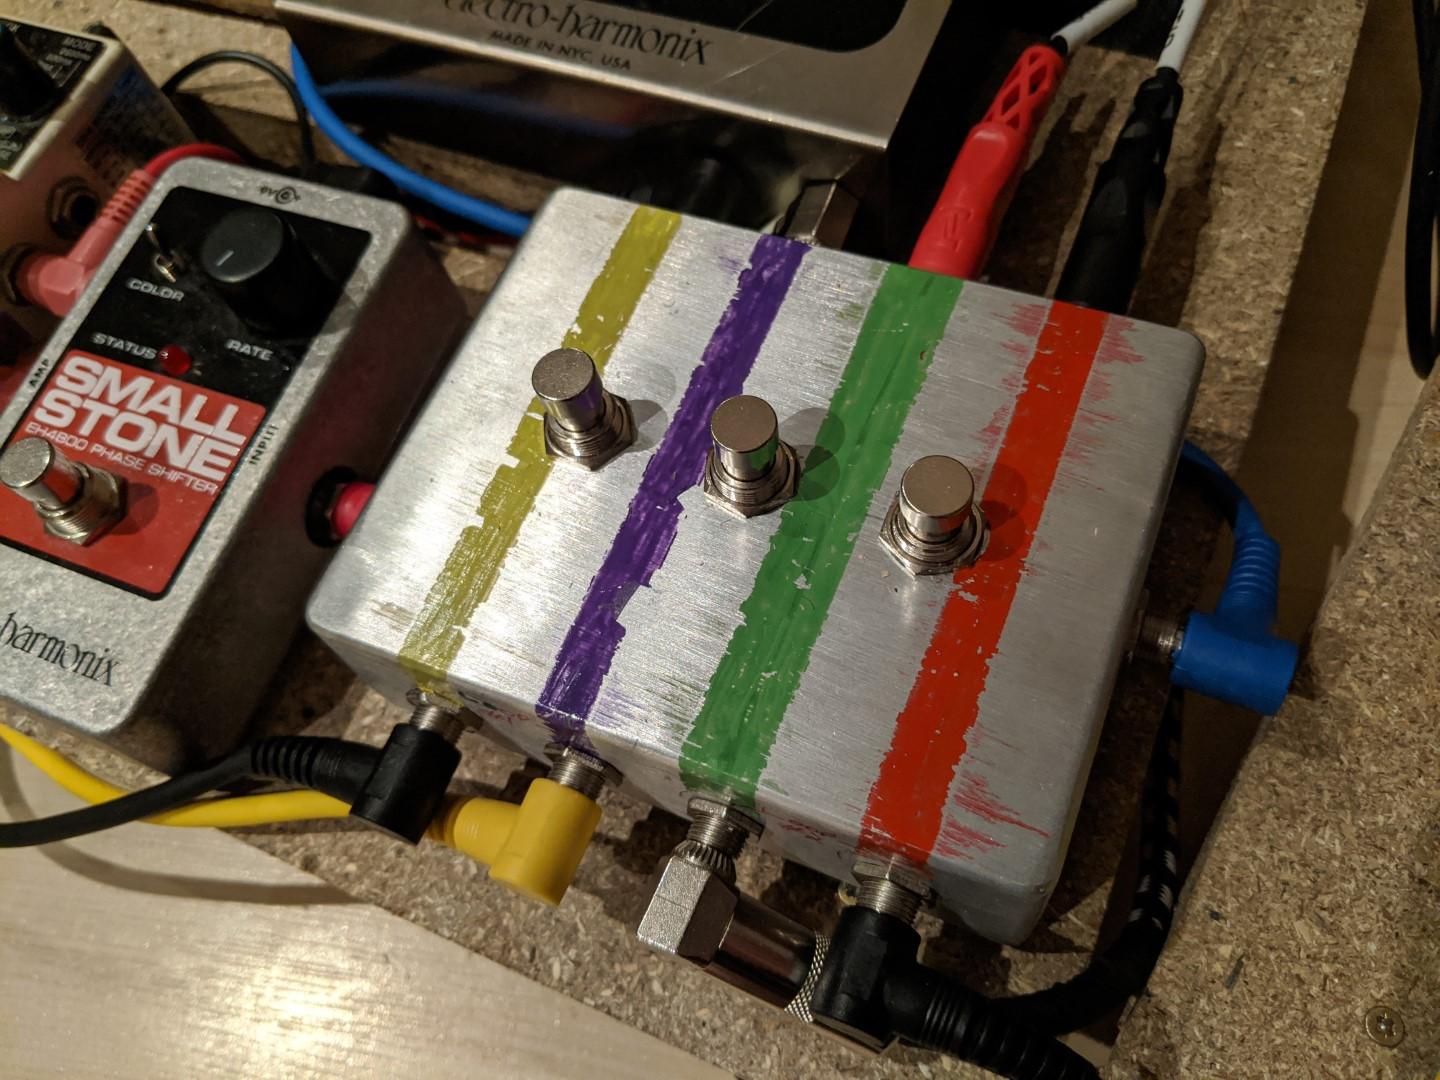
Parts
- One 4PDT switch (latching footswitch or toggle switch).
- Six 6.35mm (1/4 inch) jack sockets.
- A case you can stomp on to keep everything in place.
- Wire, preferably of a few different colours.
Internal wiring
This is fiddly due the switch having so many pins! I've tried to display it as cleanly as possible in the interactive diagram below. Controls below the diagram allow you to toggle the switch state and choose how much detail you want to see. Hover over a terminal to show a text description of its connections.
Hover over a terminal for more information.
Key:
- Grey lines show the internal connections of the switch - you don't need to do anything about them but may help you understand how the switch works.
- The terminals with white arrows should each be wired to the tip terminal of an audio jack socket.
- Blue and green lines represent wires to show which terminals you need to connect together.
- Blue and green arrows represent the paths of audio signals travelling through the switch.
...and in plain text:
- Connect
3to10and the tip terminal of a socket. - Connect
4to6and the tip terminal of a socket. - Connect
1to11and the tip terminal of a socket. - Connect
5to12and the tip terminal of a socket. - Connect
7to the tip terminal of a socket. - Connect
8to the tip terminal of a socket. - Finally, for each pair of audio jack sockets
(3, 4),(7, 8),(11, 12), connect the sleeve terminals together.
Case
I won't go into detail on how to make the case. Basically you need six holes for the audio jack sockets and one more for the switch. Make sure you keep track of which socket is connected to which terminal on the switch!
External wiring
- Socket
3to Rubberneck SEND. - Socket
4to Rubberneck RETURN. - Socket
11towards your instrument. - Socket
12towards your amp. - Socket
7to input of the first pedal in your FX loop. - Socket
8to output of the last pedal if your FX loop.
Your Rubberneck should be in your main chain either before 11
or after 12.
More groups?
This guide has just used a single switch for a single pedal group but you can have as many as you want by chaining more switches together. You will need one additional switch and two additional jack sockets for each additional group.
For each switch in the chain:
- Connect
4of the first switch to3of the next switch. - Connect
12of the first switch to11of the next switch.
Otherwise the wiring is the same.
Clear as mud?
I hope that all makes sense. If not, contact me with any queries.